User Groups
User Groups let you organise your users into logical categories and control what they can access. Each group has a type, a set of permissions, and can be granted access to specific chatbots.
How to Get There
From the School Dashboard, click Users & Groups in the left sidebar under Settings. Group filters appear in the sidebar of the Users page.
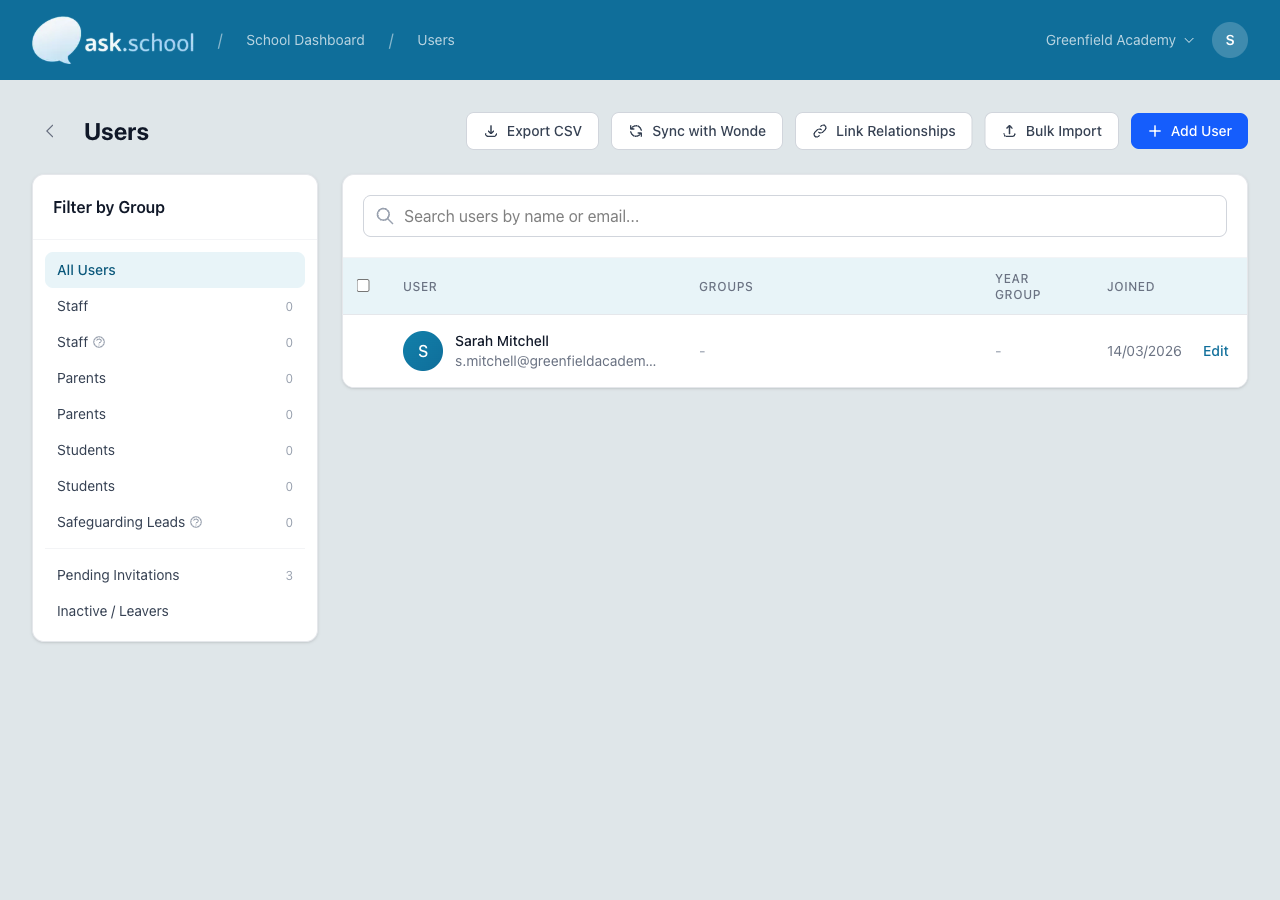 The group filters sidebar showing available groups with member counts
Group types
Every group has a type that describes the kind of users it contains:
| Type | Typical use |
|---|---|
| Staff | Teachers, teaching assistants, office staff, SLT |
| Student | Pupils and students |
| Parent | Parents and carers |
| Class | Subject or teaching groups (e.g. “10A English”) |
| Year Group | Year-level groups (e.g. “Year 7”, “Year 11”) |
| Form | Form or tutor groups (e.g. “Form 9B”) |
| Custom | Any other grouping you define |
| Other | Governors, visitors, external users |
Creating a group
- Go to Groups from the sidebar.
- Click Create Group.
- Enter a name (e.g., “Teaching Staff”, “Year 11 Students”, “Parents”).
- Select the group type — Staff, Student, Parent, Class, Year Group, Form, Custom, or Other.
- Set the group’s permissions (see below).
- Click Create.
Permissions
Each group can be granted the following permissions:
| Permission | What it allows |
|---|---|
| Can view safeguarding alerts | Members can see and manage safeguarding alerts. Typically only for designated safeguarding staff. |
| Can manage users | Members can invite, edit, and remove users. |
| Can manage chatbots | Members can create, edit, and configure chatbots. |
Be careful with the safeguarding alerts permission. Only staff with a safeguarding responsibility should have access to alerts, as they may contain sensitive information.
Adding users to groups
- Open the group you want to edit.
- Click Add Members.
- Select the users you want to add.
- Click Save.
Users can belong to multiple groups. Their permissions are combined — if any group they belong to grants a permission, they have it.
Chatbot access
Groups control which chatbots users can see:
- Go to the chatbot’s settings.
- In the Permissions section, select which groups should have access.
- Only members of selected groups will see the chatbot.
Public chatbots are visible to everyone, regardless of group membership. Use group permissions for private, logged-in chatbots only.
MIS-managed groups
If your school uses the MIS Integration (Wonde), groups of type Class, Year Group, and Form are created and updated automatically during each sync. These system-managed groups:
- Cannot be manually deleted (they are maintained by the sync process).
- Are updated with the latest class lists, year group assignments, and form memberships each time a sync runs.
- Can still have chatbot permissions assigned to them, just like manually created groups.
You can create additional manual groups alongside MIS-synced ones.
Good to Know
- A user’s access is determined by all the groups they belong to — permissions are additive.
- Removing a user from a group immediately removes the associated permissions and chatbot access.
- You can have as many groups as you need — for example, separate groups for each year group or department.
- Groups created by MIS sync are marked as system-managed and cannot be deleted manually.
Next Steps
- Managing Users — Invite and manage individual users
- Creating Chatbots — Set up chatbot access controls
- Safeguarding Alerts — How safeguarding permissions work