Chat Interface
The Chat Interface is where users interact with your school’s chatbots. It’s also where you can test your chatbot to make sure it’s working correctly.
How to Get There
From the School Dashboard, click any chatbot in the right-hand panel to open its editor, then click Open Chat in the page header. The chatbot opens in a new view where you can test it. End users reach the same view via the chatbot’s user access link (see Sharing & Access).
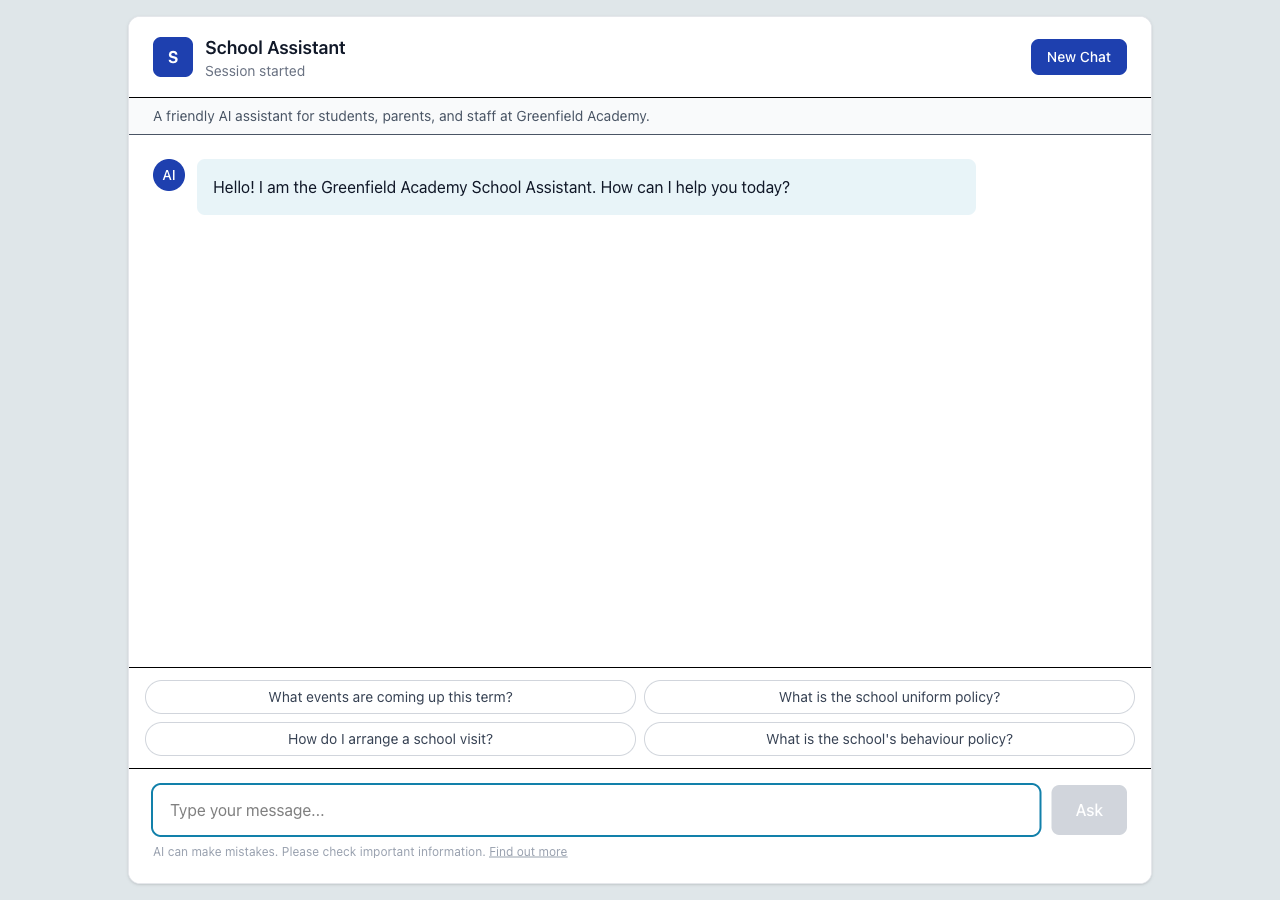 The chat interface showing a welcome message, suggested prompts, and message input
Using the chat
- Open the chatbot from the dashboard and click Open Chat (or visit the chatbot’s user access link).
- Type your question in the message box at the bottom.
- Press Enter or click Ask to send.
- The chatbot will respond using your school’s documents, school knowledge topics, useful links, and calendar feeds.
Conversations
Each time you open the chat, you start a new conversation (also called a session). The chatbot remembers what was said earlier in the same conversation, so you can ask follow-up questions naturally.
Previous conversations are listed in the sidebar so you can revisit them.
Prompt suggestions
If the chatbot has prompt suggestions configured, you’ll see them as clickable buttons when you start a new conversation. Click one to use it as your first question.
Testing your chatbot
Use the chat interface to test your chatbot before making it available to users:
- Ask questions that parents, students, or staff are likely to ask.
- Check that the answers are accurate and use the right tone.
- Try questions that relate to your uploaded documents — does the chatbot find the right information?
- Ask about upcoming events — does the chatbot know about your calendar?
- Test edge cases — what happens when the chatbot doesn’t know the answer?
If the chatbot gives an incorrect answer, consider adding a School Knowledge entry with the correct response. Knowledge base entries take priority over document search.
Using on Mobile
The chat interface is fully responsive and works on phones and tablets. Users can chat with your school’s chatbots from any mobile browser — no app download is needed.
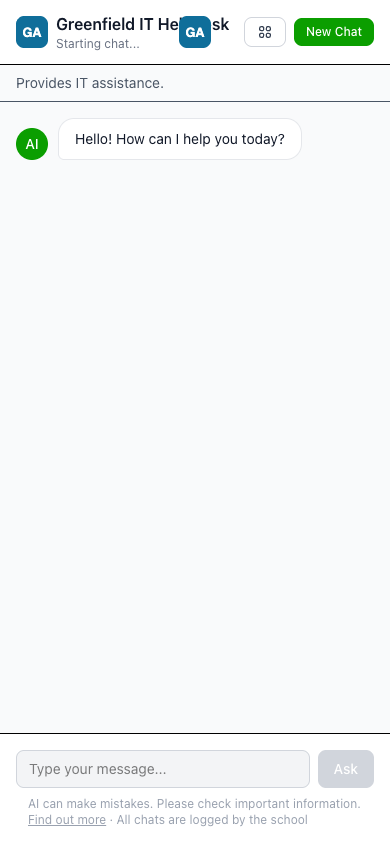
The chat interface on an iPhone — fully responsive with prompt suggestions and message input
Adding to the Home Screen (iPhone)
For the best experience on iPhone, users can add the chatbot as a web app on their home screen. This makes it feel like a native app — it opens full-screen without the Safari toolbar and can be launched with a single tap.
To add it:
- Open the chatbot link in Safari (this only works in Safari, not Chrome or other browsers).
- Tap the Share button (the square with an arrow pointing up) at the bottom of the screen.
- Scroll down and tap Add to Home Screen.
- Give it a name (e.g. “School Assistant”) and tap Add.
- The chatbot now appears as an icon on the home screen.
When opened from the home screen, the chatbot runs in full-screen mode with no browser bars — just the chat interface.
This is a great option to recommend to parents. Share the chatbot link and suggest they add it to their home screen for quick access to school information.
Adding to the Home Screen (Android)
On Android devices:
- Open the chatbot link in Chrome.
- Tap the three-dot menu (⋮) in the top-right corner.
- Tap Add to Home screen (or Install app if prompted).
- Confirm the name and tap Add.
The chatbot will appear as an icon on the home screen, just like a regular app.
Good to Know
- Conversations are automatically titled based on the first message.
- All conversations are logged and can be reviewed by administrators.
- Conversations are monitored for safeguarding — concerning content triggers automatic alerts.
- Each message tracks token usage, which counts towards your monthly message quota.
- Public chatbots create anonymous sessions — no login is required, but conversations are still monitored.
Next Steps
- Creating Chatbots — Configure your chatbot’s settings
- Safeguarding Alerts — How conversation monitoring works
- School Knowledge — Improve chatbot answers