Go to the School Dashboard
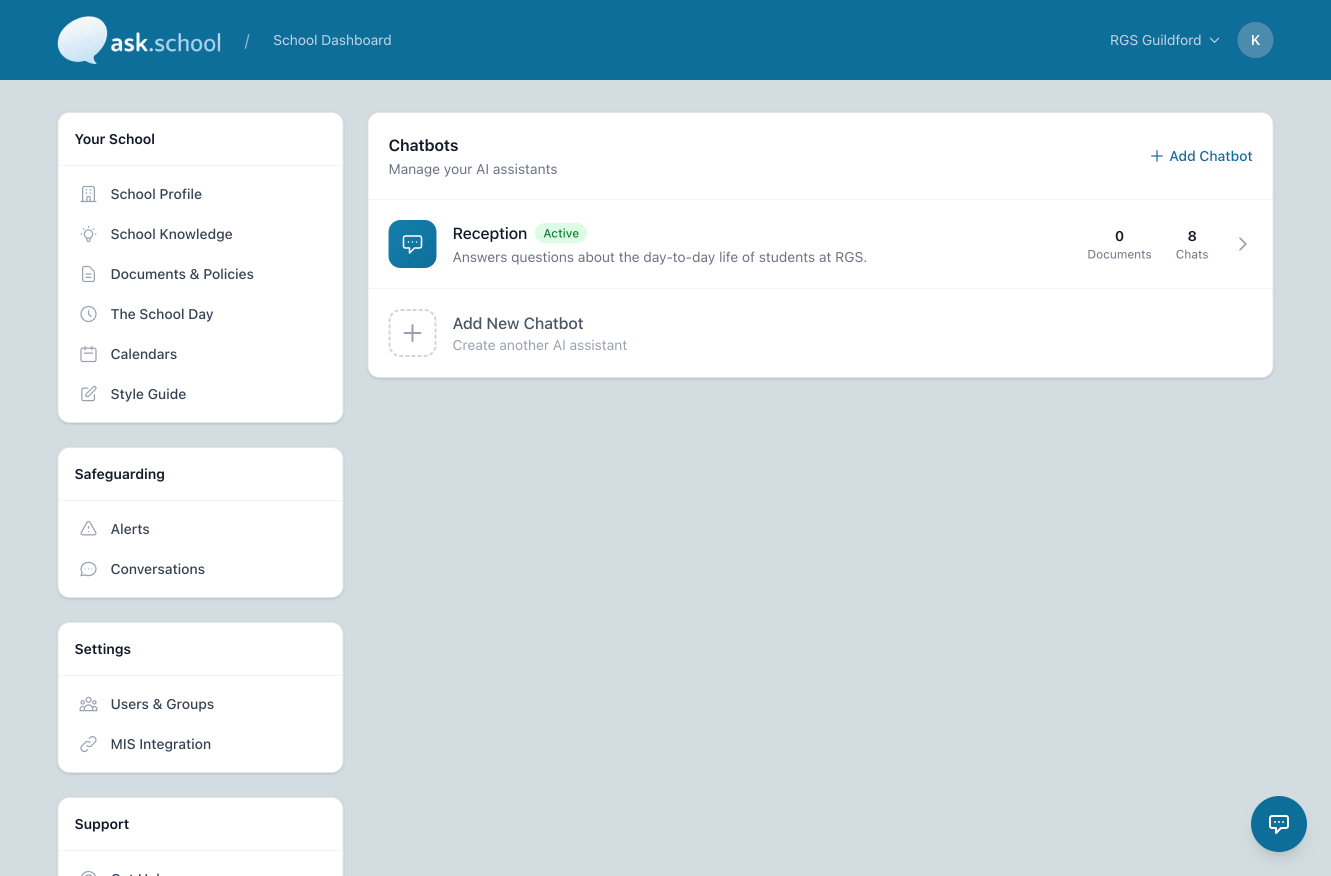
From your Ask.School account, navigate to the School Dashboard. You will see the Chatbots panel on the right side of the screen, which lists your existing chatbots and provides options to add new ones.
There are two ways to start creating a new chatbot:
- Click the "+ Add Chatbot" button in the top-right corner of the Chatbots panel, or
- Click the "Add New Chatbot" tile at the bottom of the chatbot list.
Open the Create Chatbot Form
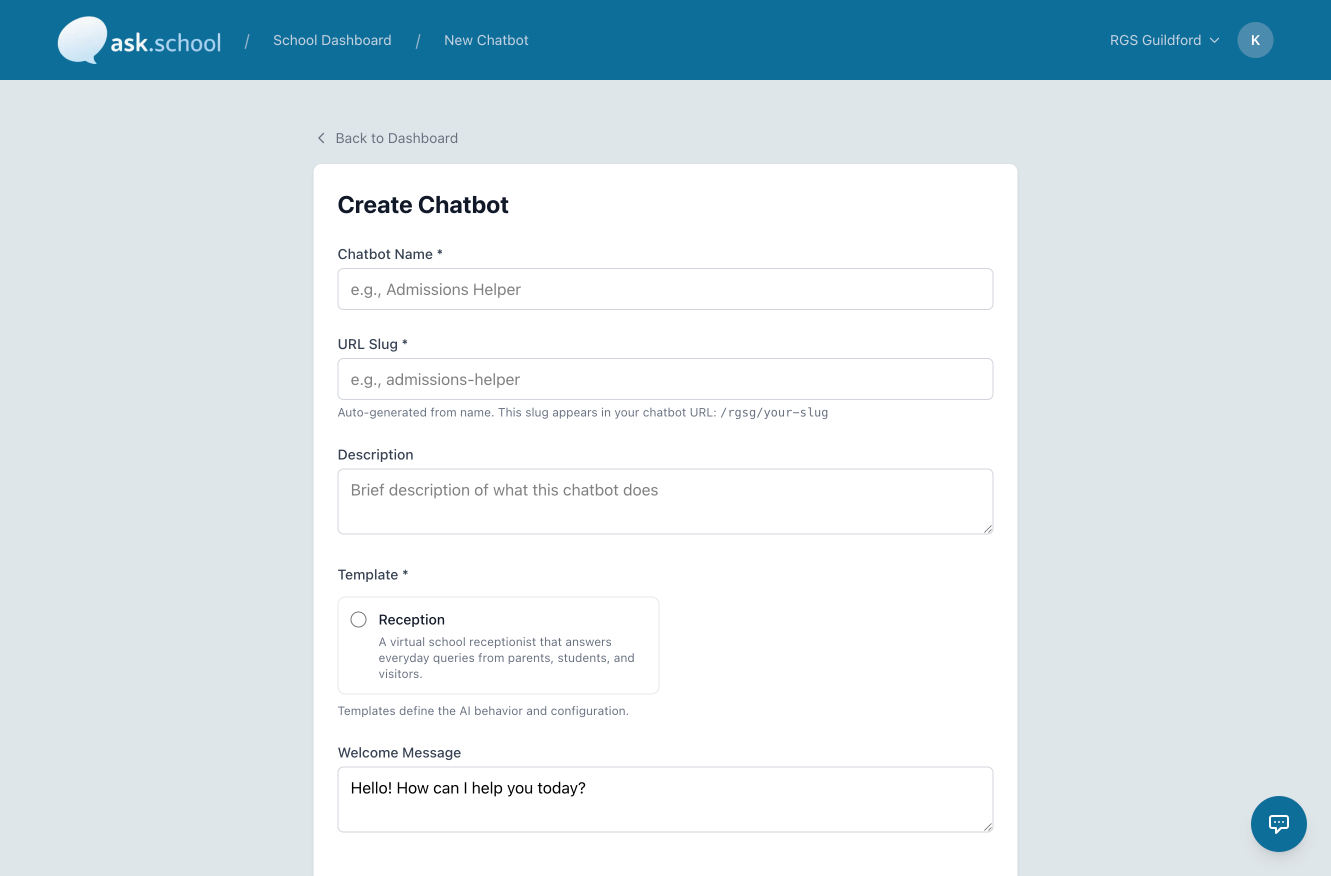
After clicking either option, you will be taken to the Create Chatbot page. This form has several fields to configure your new AI assistant. The breadcrumb at the top of the page will update to show School Dashboard / New Chatbot.
Enter a Chatbot Name
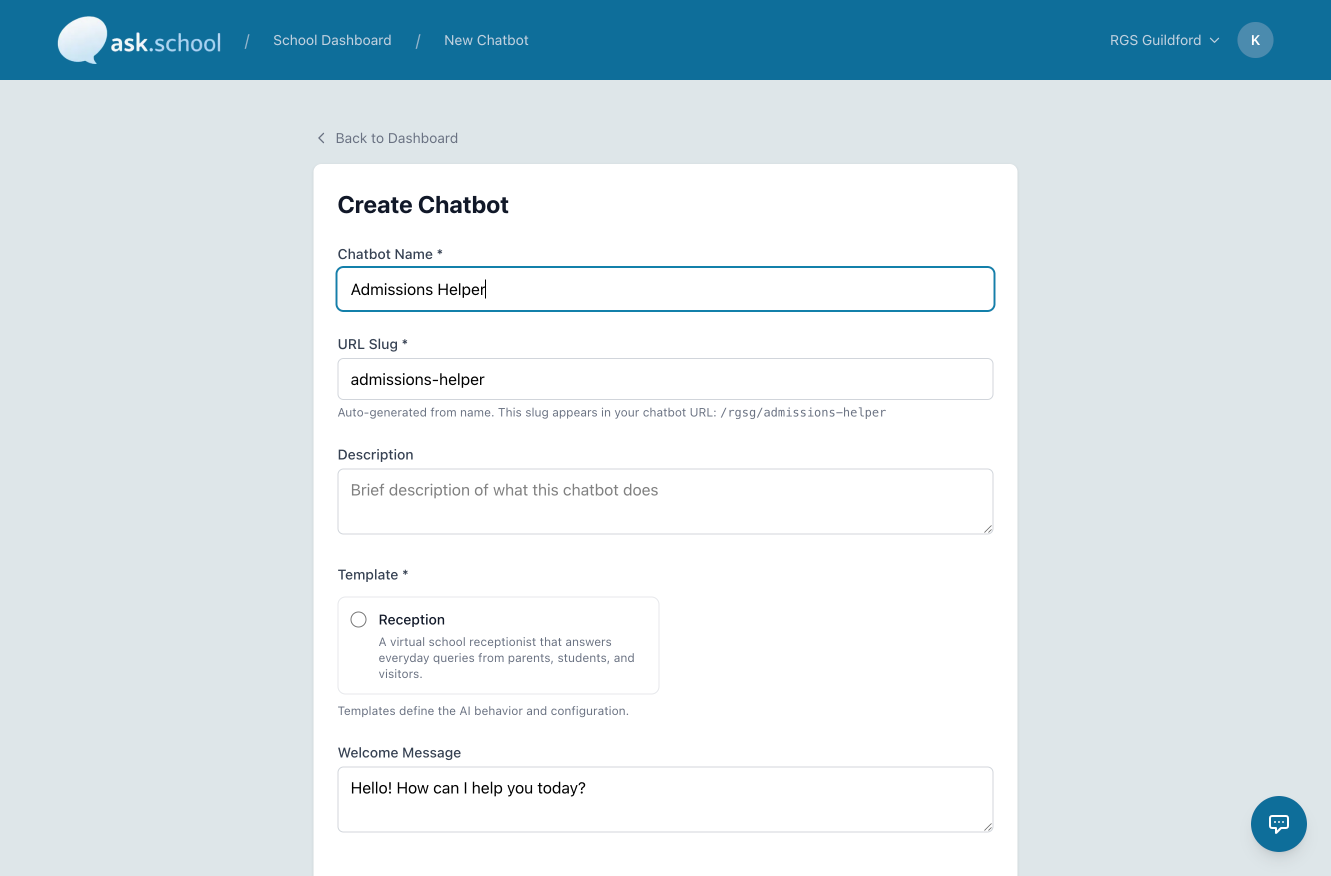
In the Chatbot Name field (marked with an asterisk *, meaning it is required), type a descriptive name for your chatbot — for example, Admissions Helper.
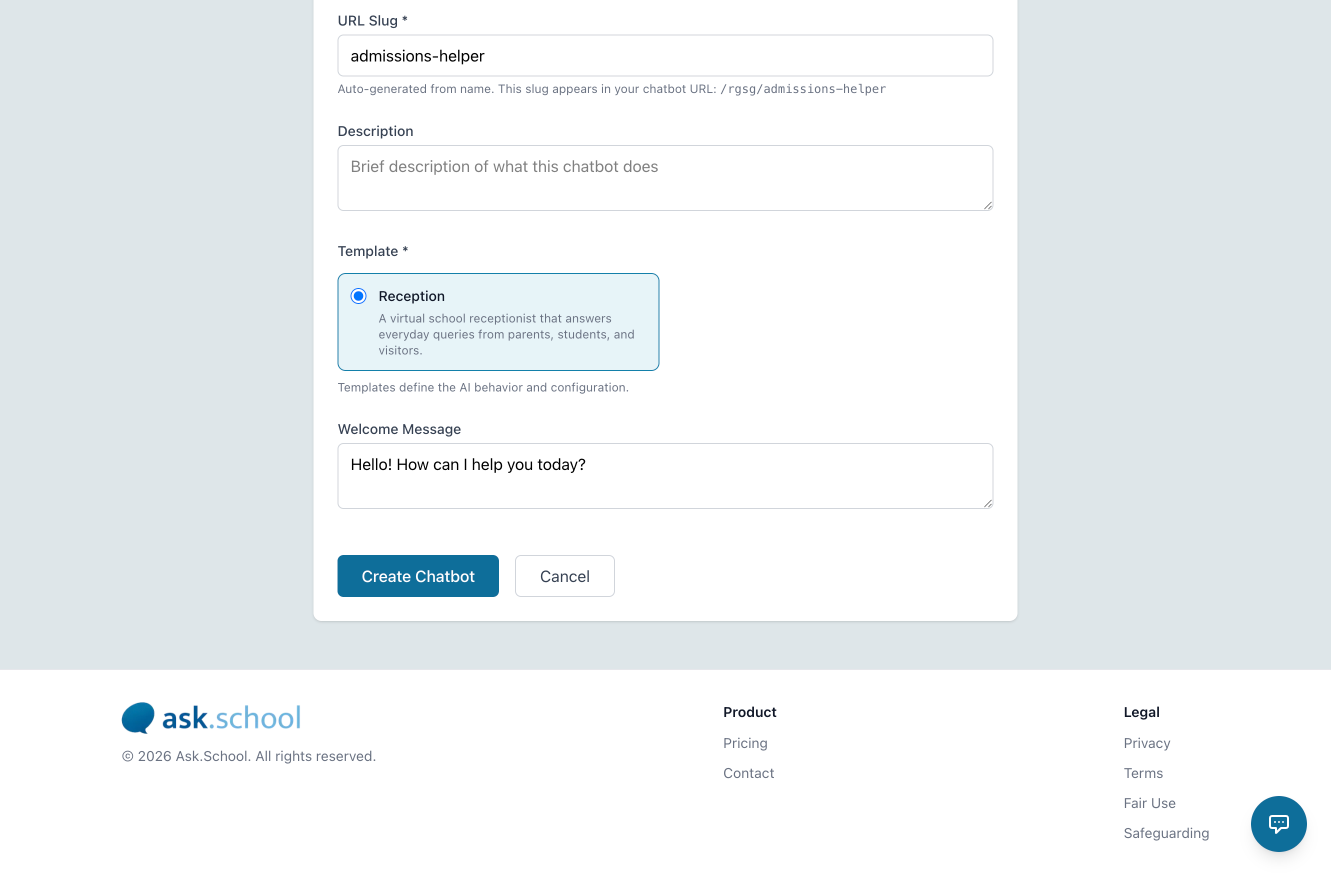
As you type, the URL Slug field below will be automatically populated. The slug is the unique web address identifier for your chatbot (e.g., /rgsg/admissions-helper). You can leave it as auto-generated or edit it manually if needed.
Add a Description
In the Description field, enter a brief summary of what your chatbot does. This helps your team understand the chatbot's purpose at a glance on the dashboard.
For example: "Answers questions about admissions, entry requirements, and the application process for prospective students and parents."
Select a Template
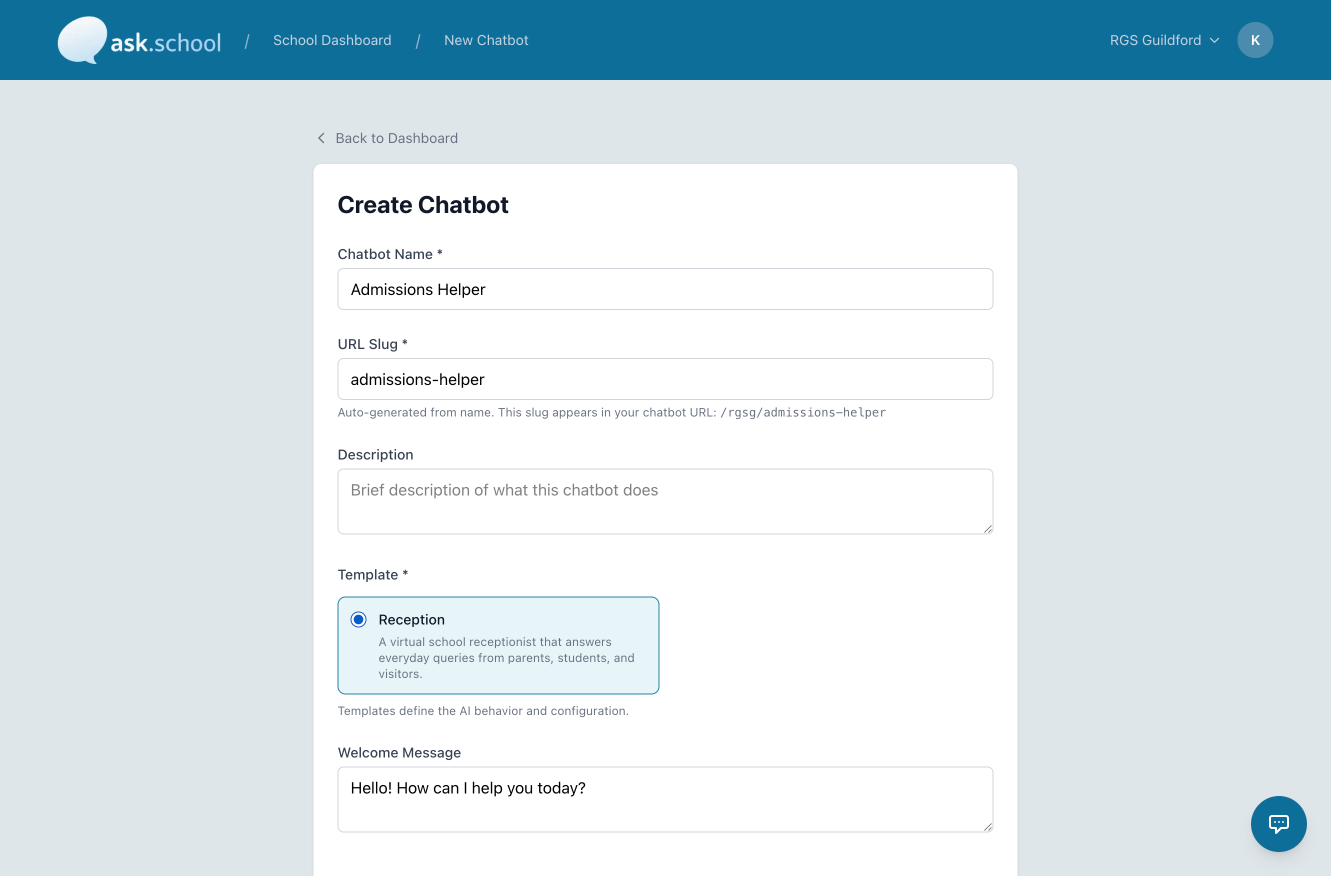
Under Template (required), choose the AI behaviour template that best suits your chatbot's purpose. Templates define how the AI is configured and behaves.
Currently, the Reception template is available — this configures the chatbot as a virtual school receptionist that handles everyday queries from parents, students, and visitors. Click the radio button next to Reception to select it. The selected template will be highlighted with a blue border.
Set the Welcome Message
The Welcome Message is the first message users will see when they open the chatbot. By default it reads: "Hello! How can I help you today?"
You can leave this as-is or customise it to match your chatbot's tone and purpose — for example, making it specific to admissions queries.
Click "Create Chatbot"
Once all required fields are completed, click the blue "Create Chatbot" button to save and launch your new chatbot. If you change your mind, click Cancel to return to the dashboard without saving.
💡 Tips & Reminders
- Required fields are marked with an asterisk (*) — these must be completed before you can create the chatbot.
- The URL Slug is auto-generated from the chatbot name but can be customised. Keep it short and readable as it forms the public-facing URL.
- You can edit your chatbot's settings after creation by clicking on it from the School Dashboard.
- To cancel at any point, use the Back to Dashboard link at the top of the Create Chatbot page.